Whether you’re jetting off to Lisbon or simply heading to your local park, iPhone photography gives you an easy and powerful way to capture stunning travel shots. Best of all, your camera is already in your pocket.
You can forget about expensive gear or complicated editing software. Instead, with a few simple techniques and a little creative thinking, your iPhone can produce images that look like they came from a DSLR or mirrorless camera.
In this guide, you’ll find everything you need to get started with iPhone travel photography – from practical tips and creative challenges to tools and settings that actually make a difference. Whether you’re a total beginner or just looking to improve, this is your starting point.
1. Light Is Everything
Lighting is the single biggest factor in what makes a photo “pop.” Here’s how to work with it instead of against it:
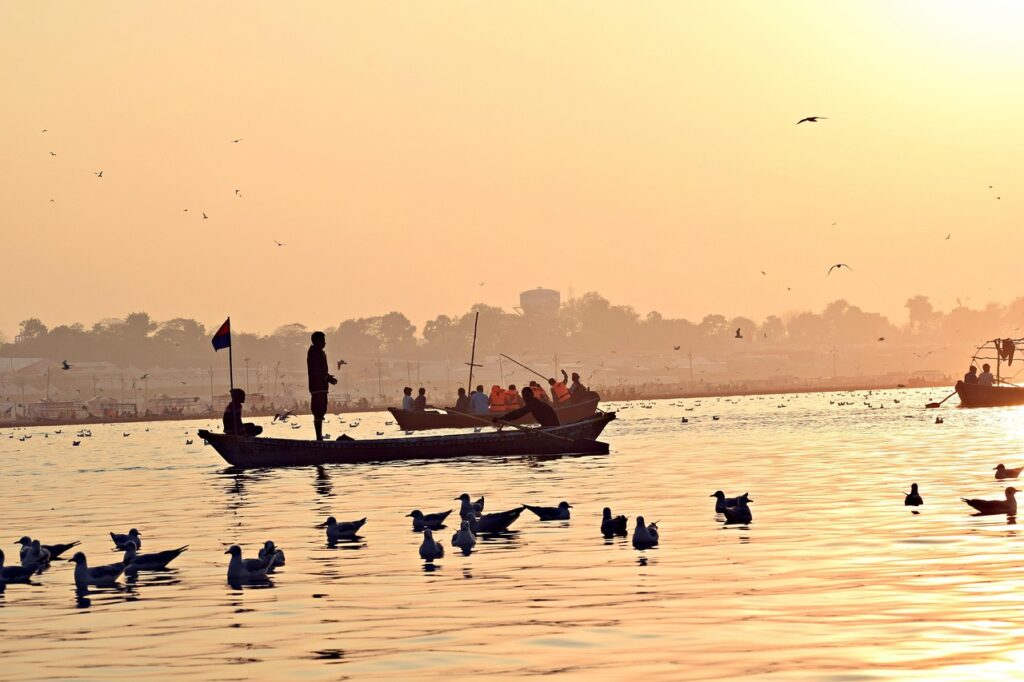
- Golden Hour: Shoot during the hour after sunrise or before sunset. You’ll get soft, flattering light and rich tones.
- Indoors? Face a Window: Natural light from the side is better than overhead lighting, which creates harsh shadows.
- Avoid Midday Sun: Harsh sunlight at noon leads to squinty eyes and blown-out highlights. If you can’t avoid it, look for open shade.
🎯 Mini challenge: Take the same photo in the morning, noon, and golden hour. Compare the mood.

2. Tap to Focus + Adjust Exposure
iPhones are smart — but not psychic. Tell it what to focus on.
- Tap the screen to focus on your subject (face, object, etc.).
- Slide your finger up or down to manually adjust brightness.
- Long press to lock focus and exposure (AE/AF Lock) — super handy when composing your shot.
Skipping this step is the fastest way to end up with washed-out skies or underexposed faces.
🎯 Mini challenge: Photograph a scene with mixed light — once without adjusting anything, then again with tap + exposure. Huge difference.
3. Use Simple Composition Tricks
Even small framing changes can turn a boring shot into something compelling:
- Rule of Thirds: Enable your grid in Settings and place subjects along the lines or intersections.
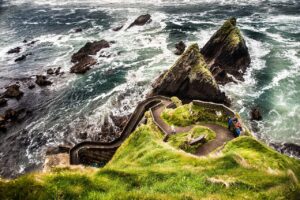
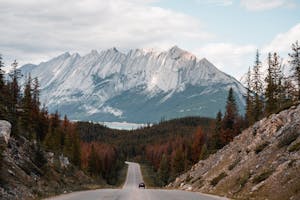
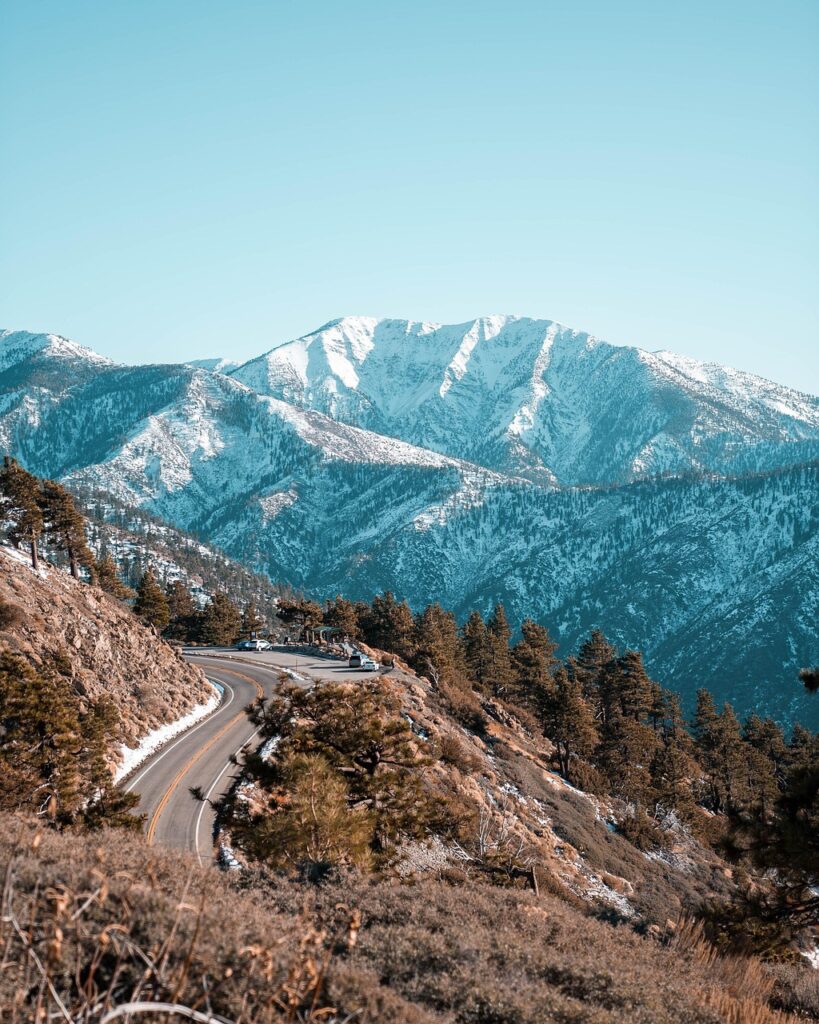
- Leading Lines: Use roads, fences, or shadows to draw attention to your subject.
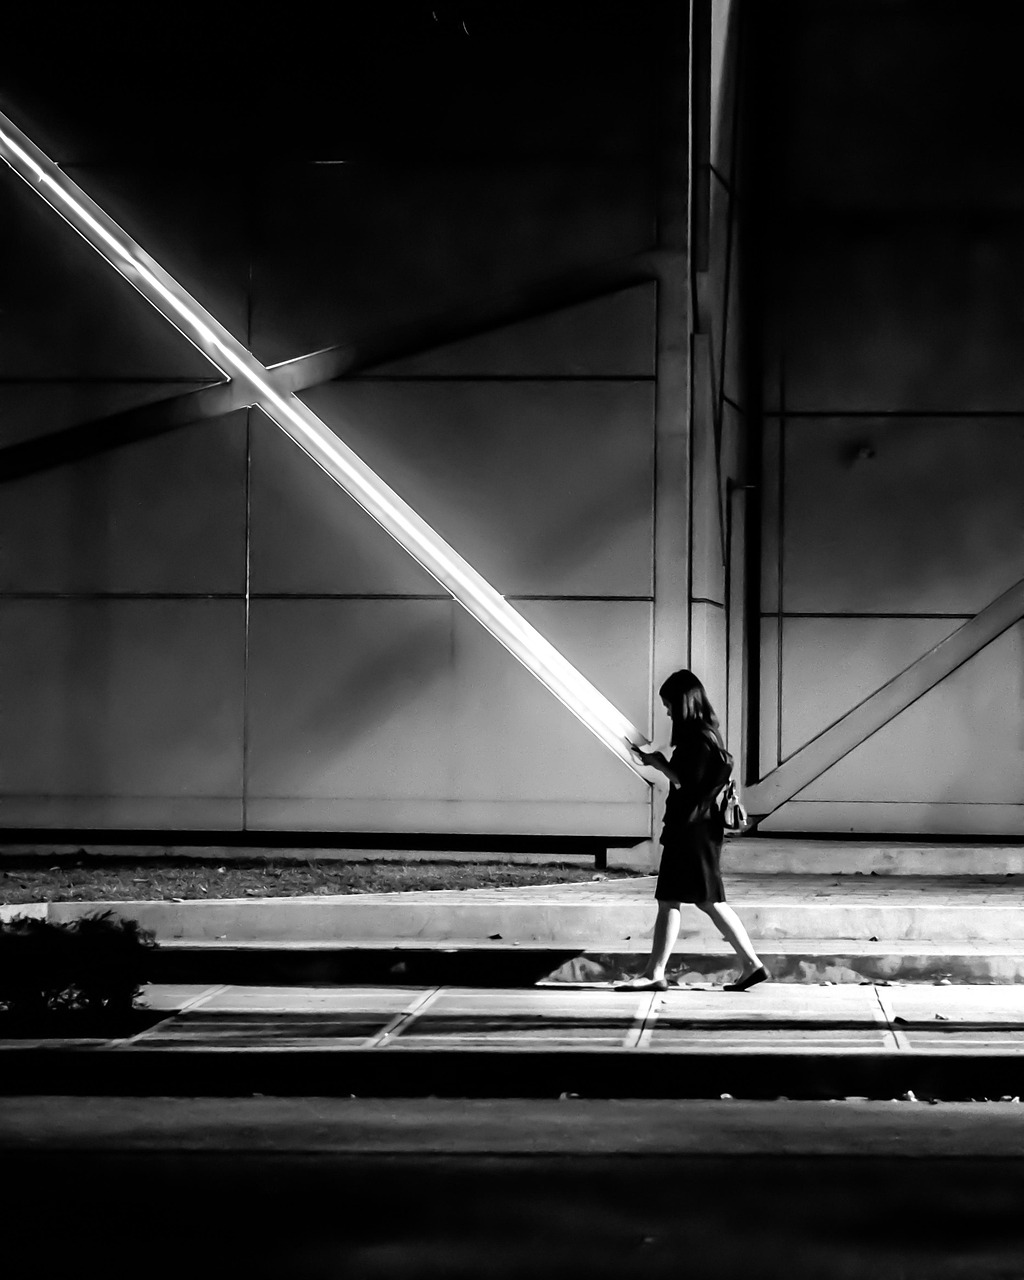
- Leave Space: Don’t always center everything. Negative space can create calm or drama.
- Vary Your Angles: Crouch, climb, tilt. Anything but eye-level.
🎯 Mini challenge: Shoot the same object centered vs. with the rule of thirds. Which one feels more interesting?
4. Frame It Differently
Framing and perspective can completely shift the vibe of your shot.
- Get Low for dramatic depth
- Go High for patterns or flat lays
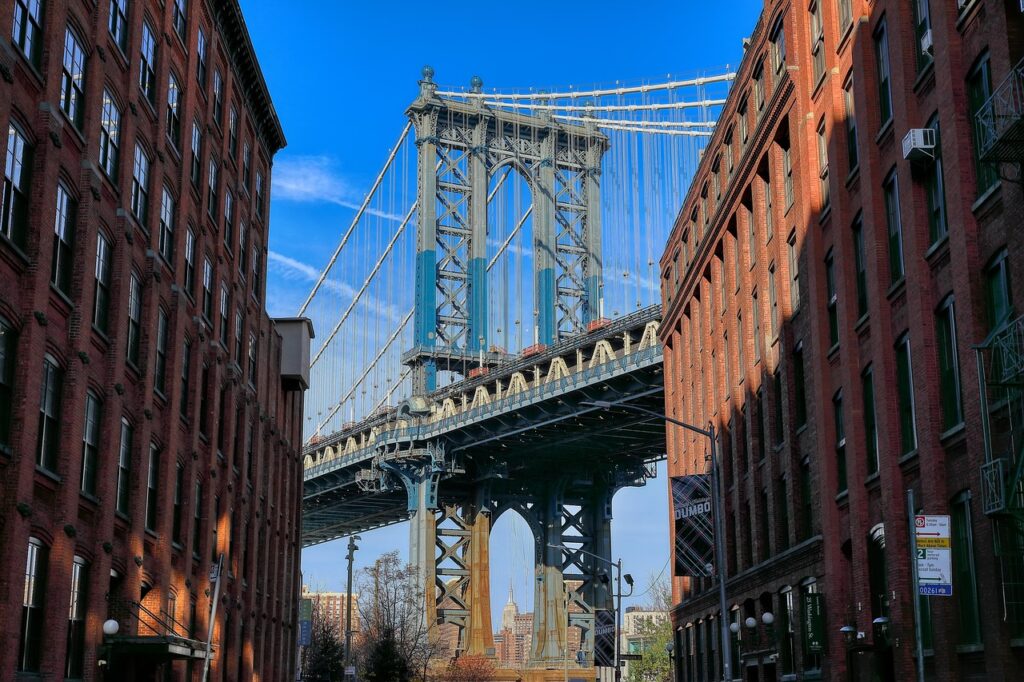
- Frame With Objects: Use doorways, arches, windows, or leaves as natural frames
- Layer It: Add foreground elements (e.g. plants, hands) to give a 3D effect
🎯 Mini challenge: Capture the same subject from ground level, eye level, and from above. Notice the shift in mood.
5. Don’t Zoom — Move
Zooming with your fingers might feel convenient, but it degrades image quality fast (unless you’re using a true telephoto lens).
- Move closer physically when possible
- Crop later in editing if needed — it gives more control and better sharpness
🎯 Mini challenge: Take a zoomed-in shot and the same shot cropped in post. Compare clarity.
6. Edit Smart, Not Heavy
Editing should enhance the photo — not strip its soul.
- Start with exposure, contrast, shadows/highlights, and sharpness
- If using filters, keep it subtle (30–50% strength)
- Avoid plastic skin, neon greens, or over-sharpening
📱 Free Apps to Try:
- Snapseed (great all-around)
- VSCO (film-like filters)
- Lightroom Mobile (for control freaks — in a good way)
🎯 Mini challenge: Edit one image three ways: unedited, light edit, and heavy filter. Which feels most “you”?
7. Practice Prompts for Better Shots Today
Want to improve faster? Try these quick challenges:
- Same Subject, 3 Angles: Above, ground-level, straight on.
- One Color All Day: Choose a color (e.g. green) and take 5 photos with it as the focus.
- Golden Hour Portrait: Grab a friend, use that dreamy light, and test out rule of thirds.
Recommended iPhone Photo Tools (Tested + Trusted)
Want to step up your travel photos? These are tools I actually use:
- 📷 Clip-on lenses (macro/wide)
- 📱 Mini tripod or stand
- 💡 Portable LED light
- 🎮 Bluetooth shutter remote
📲 Want this in a handy PDF? (with even more tips!)
Download my free iPhone Travel Photography Starter Guide — perfect to take on your next trip or keep saved to your phone.
👉 Grab it now on my Beacons page